Getting ready to start your eCommerce business? WooCommerce is an excellent choice, as it’s free, and one of the best eCommerce platforms out there.
This is a step by step guide on how to set up your Templ.io account and install WordPress and WooCommerce. This guide will not include any optimization or change of settings, we just show you how to set up your Templ.io account and install WooCommerce.
If you already have WooCommerce installed, we recommend checking the rest of our blog instead, these articles might be of interest:
Step 1 – Sign up for a Templ.io trial account
Sign up for a templ.io trial account here. Be sure to use a strong password!
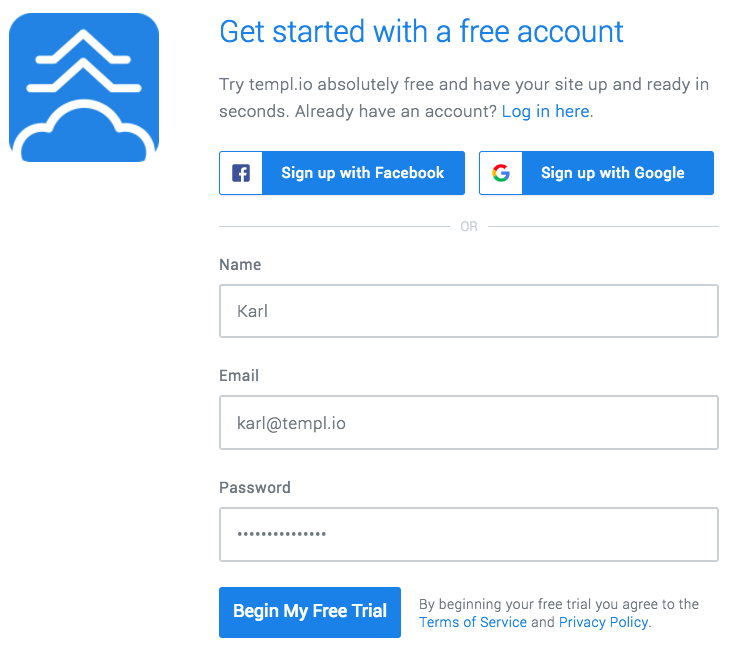
Optional: Sign up with Facebook or Google.
Step 2 – Verify your email address
After you click “Begin My Free Trial” you need to verify your email address, to do that, open the email that you entered and look for an email from templ.io with the subject “Verify your email address”, and click the link in the email to verify your account.
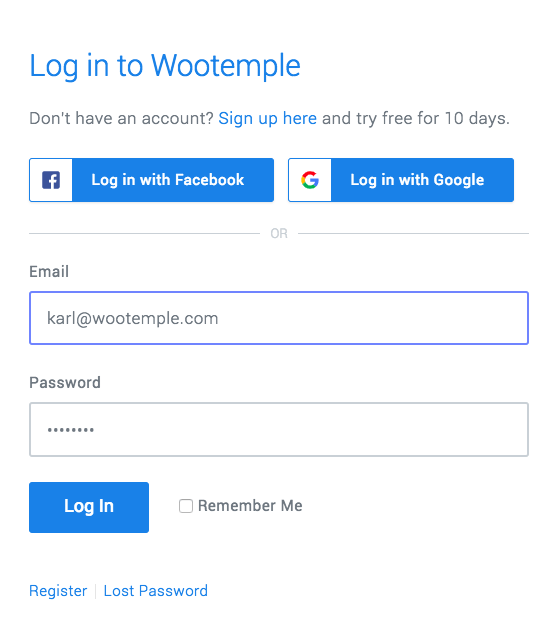
Step 3 – Login to the Templ.io account you just created
After you verify your account, you will be redirected to the login page for Templ.io, enter the same details you used to create your account with to login.
If you signed up with Facebook or Google, click on the one you used to login.
Step 4 – Launch your private Google Cloud Server + Install WordPress
Think this step is difficult? It’s not ? once you have logged into your Templ.io account for the first time, you will be greeted by this screen:

For the purpose of this guide, we will go ahead and click “Create Website Now!”
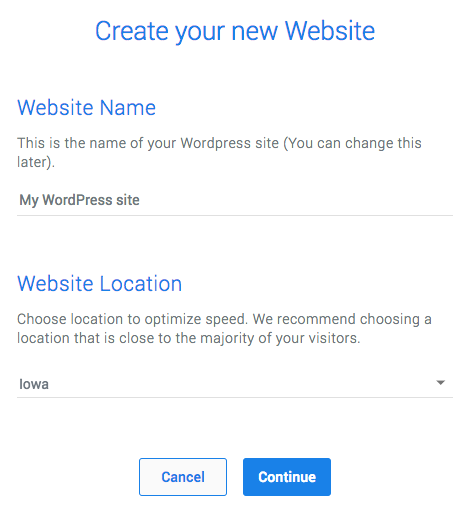
Step 5 – Name your website and choose a location
Step 6 – Wait for the setup to finish
The Templ.io Panel is now creating your Google Cloud server and installing WordPress on that server. This process may take up to 5 minutes, so please be patient.
Once the setup is done, you will be greeted by this message:
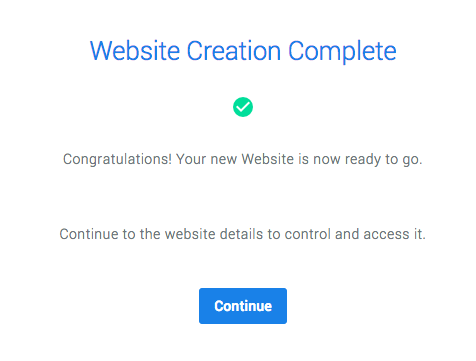
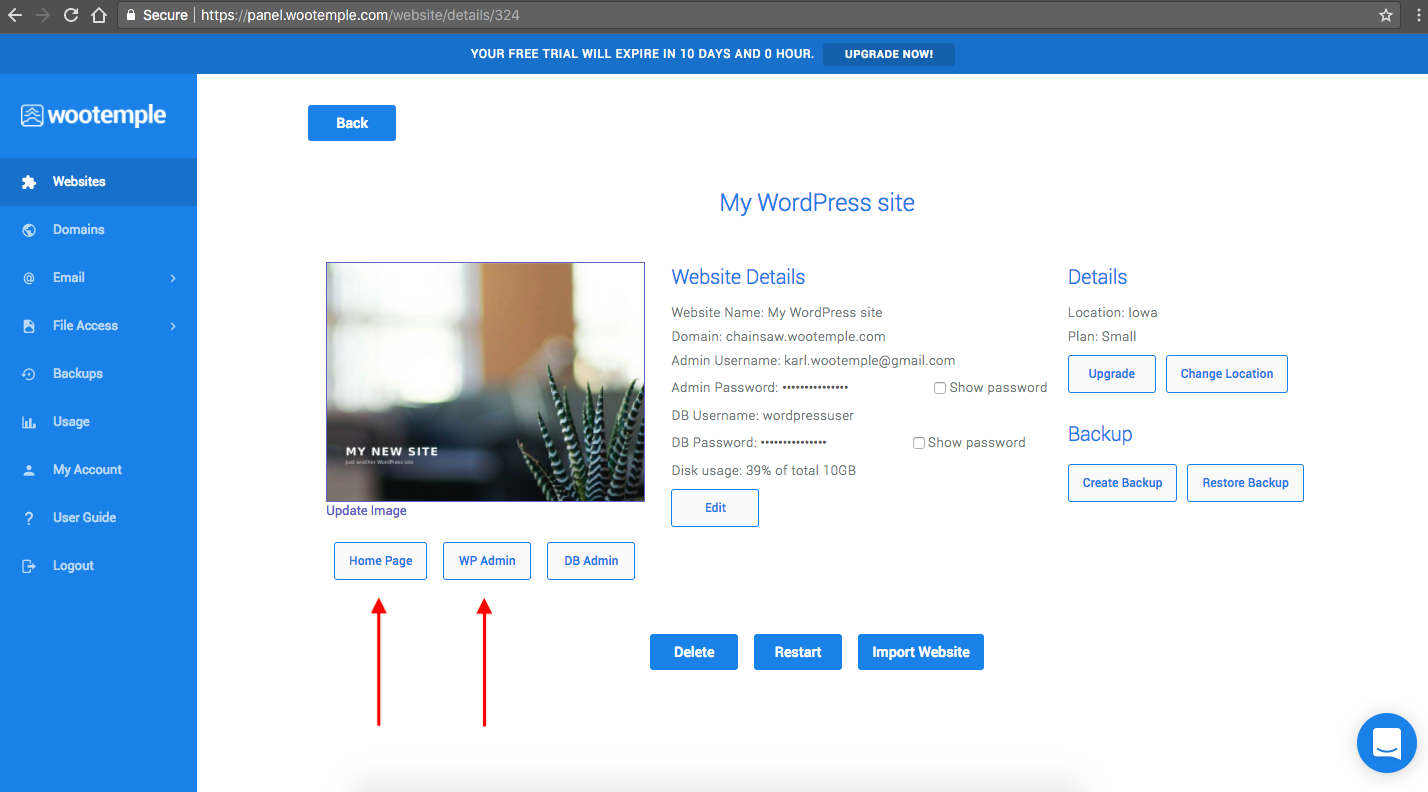
Step 7 – Access your website
When the Website creation is complete, click Continue to access your website details from the Templ.io Panel:
Installing WooCommerce
Step 1
Login to your WordPress Admin panel (wp admin) and click “Plugins” and then “Add New“

Step 2
Search for WooCommerce in the search field, and then click “Install” followed by “Activate“

Step 3
Upon activation, you will be greeted by the WooCommerce Setup Wizard. Once you have completed the Wizard, you have successfully installed and set up WooCommerce.
You can access the WooCommerce settings and products from the WordPress menu, as shown in the screenshot below: